FARO® Vantage Laser Trackers
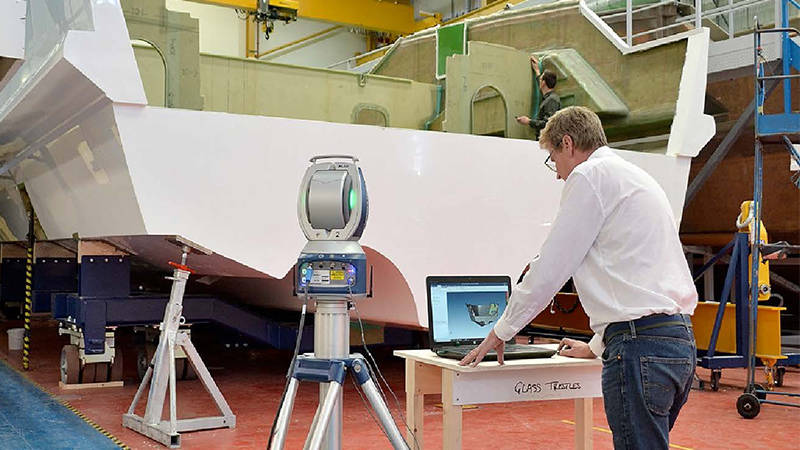
Measuring large parts, molds, assemblies and machines used to be a challenging, time-consuming process and often had to be performed in a special inspection area. Portable FARO Vantage Laser Trackers make on-site measurement easy and fast, reducing inspection cycle times by up to 75%. They measure 3D coordinates by tracking a target that the user moves from one point to another on the object being measured. In seconds, these measurements can be compared against nominal CAD data so teams can either make informed adjustments or move forward with confidence.
New to the VantageS6 Max and VantageE6 Max family of Laser Trackers is more accurate 6DoF probing, which helps speed up inspections and reduce the number of device moves. With the higher accuracy of the Vantage Max, users can probe more points beyond the line of sight and without tooling changes, resulting in a productivity improvement of 20% compared to lower accuracy probes.
-
Value
-
Performance
-
Features
-
Applications
Business Value of Vantage Laser Trackers
Vantage Laser Trackers By Performance Level
Vantage Laser Tracker Features
3D Metrology Applications
Large-scale Production with Precision
Ensure equipment alignment and adherence to the tightest tolerances when producing large parts, guiding assemblies, calibrating robots and manufacturing tooling, From aerospace to shipbuilding, leaders in the most innovative industries rely on Vantage Max Laser Trackers from FARO to produce the most advanced parts, assemblies and composites with speed and accuracy. See production, fabrication and assembly applications >
Enhanced Quality Control for Large Parts
Inspect large parts and assemblies and composites up to 75% faster than with traditional measurement methods. Vantage Max Laser Trackers produce a digital record of actual versus nominal data to validate conformance to specification for complete quality assurance. See quality control and inspection applications >
Faster Engineering of Large-scale Parts and Assemblies
Accelerate the design process and your product improvement initiatives with Vantage Max Laser Trackers. Whether your work involves replacement parts or documenting as-built products and tooling, the Vantage Max trackers ensure accuracy during rapid prototyping and integrate well with reverse engineering software. See product design and engineering applications >
